You can spend an entire afternoon cleaning and still end up with streaky windows, a dull countertop, or a bathroom that somehow still smells off. More often than not, the problem isn’t effort it’s a handful of common mistakes that quietly work against you, no matter how much elbow grease you put in.
The most common cleaning mistakes include mixing incompatible chemicals, using the wrong product on the wrong surface, applying too much cleaner, skipping proper ventilation, cleaning in the wrong order, and not giving products enough time to actually work. Most of these mistakes are easy to fix once you know what to look for and fixing them usually means less effort, not more.
This guide breaks down the most common cleaning mistakes homeowners make, why they happen, and exactly what to do instead.
Mistake #1: Mixing Cleaning Chemicals
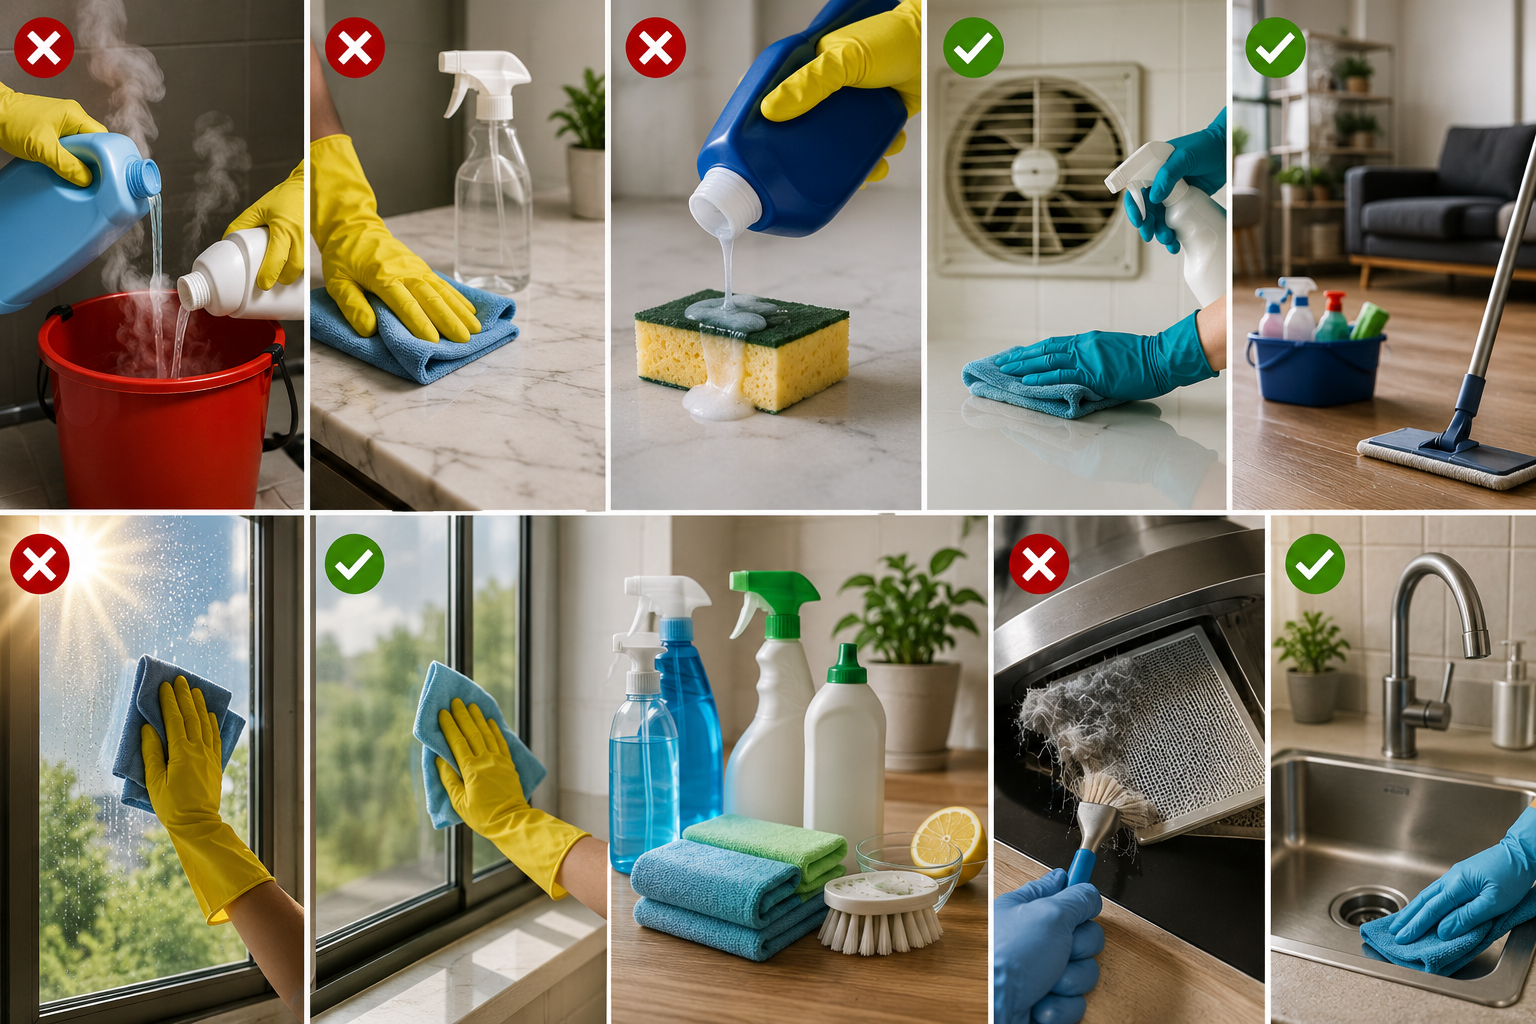
This is one of the most dangerous and most common cleaning mistakes. It often happens accidentally: switching products mid-task, topping off a spray bottle, or assuming that combining two cleaners will work better than one.
Why it’s a problem: Certain combinations create toxic gases or corrosive compounds that can seriously irritate your eyes, throat, and lungs sometimes at surprisingly low exposure levels.
Combinations to always avoid:
| Combination | Result |
| Bleach + Ammonia | Toxic chloramine vapors |
| Bleach + Vinegar (or other acids) | Toxic chlorine gas |
| Hydrogen peroxide + Vinegar | Peracetic acid, an irritant in high concentrations |
| Bleach + Rubbing alcohol | Harmful chloroform-related compounds |
The fix: Never mix cleaning products together, even ones that seem similar. If you want to use two different products on the same surface, make sure the area is fully rinsed and dried between applications rather than combining them in the same container. When using any strong-smelling product, open a window or turn on an exhaust fan for proper ventilation.
Mistake #2: Using the Wrong Cleaner on the Wrong Surface
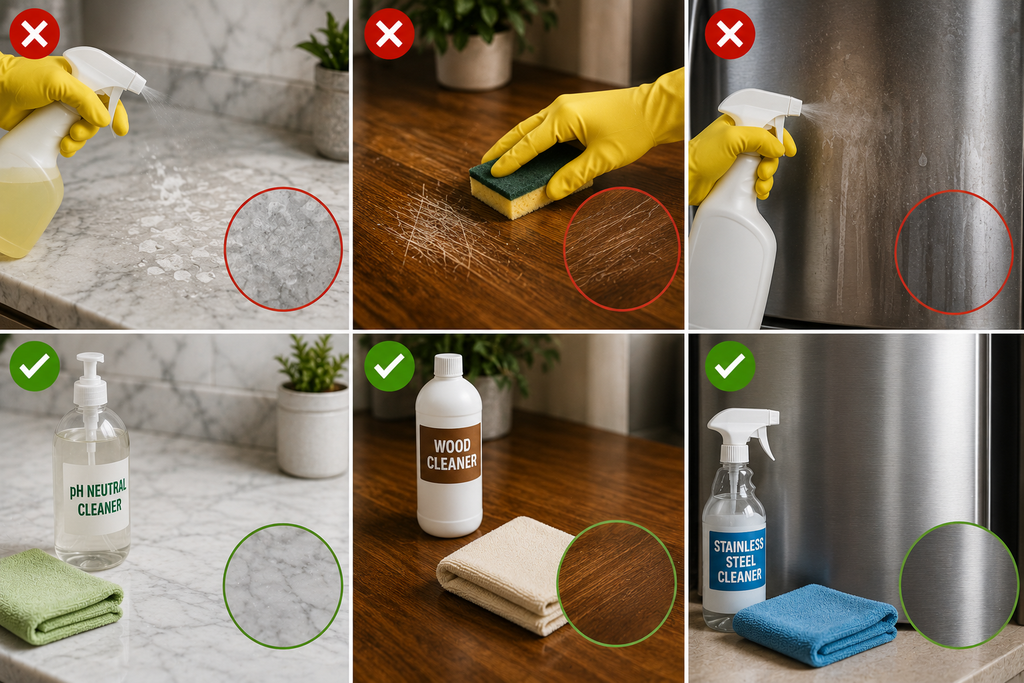
Not all surfaces respond the same way to the same products, and using the wrong one can cause damage that’s difficult or impossible to reverse.
Common surface mistakes:
- Vinegar on natural stone (granite, marble) — the acidity can etch and permanently dull the finish
- Abrasive cleaners on wood or glass — can leave fine scratches that make the surface more prone to future damage
- Harsh chemicals (bleach, ammonia-based cleaners) on stainless steel — can strip the shine or cause permanent discoloration and scratching over time
The fix: Check the label before using any product on a new surface, and when in doubt, use a pH-neutral cleaner on delicate materials like natural stone, hardwood, or stainless steel. If a surface came with specific manufacturer care instructions, follow those over generic cleaning advice.
Mistake #3: Using Too Much Cleaning Product
It’s a common assumption that more product means a cleaner result. In practice, it usually creates the opposite effect.
Why it’s a problem: Excess cleaning solution leaves behind a residue or film on surfaces. That film doesn’t fully rinse away, and it can actually attract more dirt and debris afterward meaning the surface gets dirty again faster than if you’d used the correct amount.
The fix: Follow the dilution or application instructions on the product label rather than eyeballing it. If a product includes a measuring cap or spray setting, use it consistently rather than adding “a little extra” for good measure.
Mistake #4: Not Giving the Product Enough Time to Work
Many cleaning products especially disinfectants and degreasers need a certain amount of contact time on a surface to actually be effective. Wiping it off too quickly means you’re doing the physical motion of cleaning without getting the chemical benefit.
The fix: Check the product label for recommended dwell or contact time, and let the product sit on the surface for that duration before wiping. This is especially important for disinfecting products, where effectiveness depends directly on how long the solution stays wet on the surface.
Mistake #5: Cleaning Windows on a Sunny Day
It seems logical to clean windows when the sun is out more light means you can see streaks better, right? In practice, it usually backfires.
Why it’s a problem: Direct sunlight causes cleaning solution to dry too quickly on the glass, which leaves behind visible streaks before you even have a chance to fully wipe the surface clean.
The fix: Clean windows on a cloudy day, in the early morning, or in the evening when direct sun isn’t hitting the glass. This gives the cleaning solution enough time to work before it evaporates.
Mistake #6: Not Vacuuming Before Mopping
Mopping first, then vacuuming later or worse, mopping without vacuuming at all is a surprisingly common sequencing mistake.
Why it’s a problem: Loose dirt, dust, and debris on the floor get pushed around by a wet mop rather than actually removed. Instead of a clean floor, you end up with dirt-streaked water spread evenly across the surface.
The fix: Always vacuum or dry-sweep floors first to remove loose debris, and follow with mopping as a separate step.
Mistake #7: Cleaning in the Wrong Order (Bottom to Top)
Many people start cleaning at floor level and work upward, which undoes some of the work they’ve already done.
Why it’s a problem: Dusting shelves, wiping counters, or cleaning light fixtures after the floor is done means debris and dust from those higher surfaces settle right back down onto the freshly cleaned floor.
The fix: Clean from top to bottom, and generally from the back of a room to the front. Dust shelves and surfaces first, then wipe counters, and finish with floors last.
Mistake #8: Scrubbing Stains Too Aggressively
When a stain doesn’t come out immediately, the instinct is often to scrub harder. This usually makes things worse, not better.
Why it’s a problem: Aggressive scrubbing especially on carpet, upholstery, or delicate fabric can push the stain deeper into the fibers, spread it over a larger area, or damage the material itself.
The fix: Blot stains gently instead of rubbing or scrubbing, working from the outside of the stain inward to avoid spreading it. Apply the appropriate cleaning solution, let it sit briefly, and blot again repeating as needed rather than applying more pressure.
Mistake #9: Ignoring Cleaning Tools Themselves
It’s easy to focus entirely on the surfaces you’re cleaning and forget that the tools doing the cleaning need care too.
Why it’s a problem: A dirty sponge, mop head, or vacuum filter doesn’t clean effectively in some cases, it can actually redistribute dirt and bacteria rather than removing it.
The fix:
- Rinse and wring out sponges after each use, and replace them regularly
- Wash mop heads and cleaning cloths periodically according to their care instructions
- Check and clean or replace vacuum filters as recommended by the manufacturer
- Let cleaning tools fully air dry between uses to prevent bacterial buildup
Mistake #10: Skipping Ventilation While Cleaning
Cleaning products even ones marketed as natural or eco-friendly can release fumes that build up in an enclosed space, especially in smaller rooms like bathrooms.
Why it’s a problem: Poor ventilation increases your exposure to airborne particles and chemical fumes, which can cause throat, eye, or respiratory irritation, particularly with stronger products like bleach-based cleaners.
The fix: Open a window or turn on an exhaust fan whenever you’re using cleaning products, especially in smaller enclosed spaces. This applies even when you’re not mixing products proper airflow matters for any strong-smelling cleaner.
Bonus Mistake: Not Using a Systematic Approach
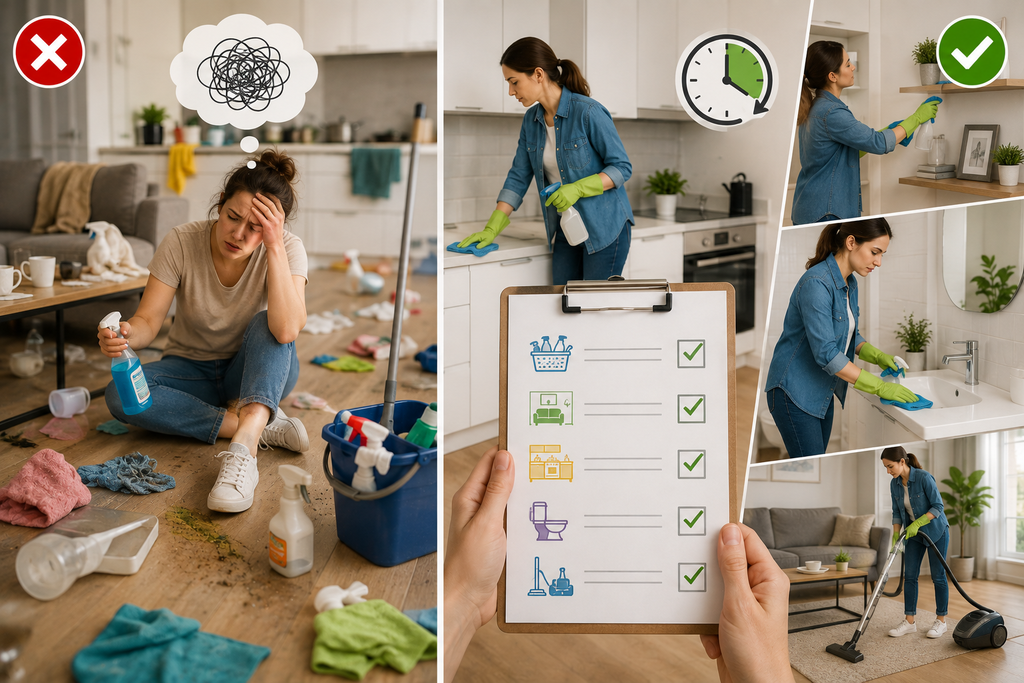
Jumping between rooms and tasks without a clear order often means you end up doing more total work retracing steps, missing spots, or repeating tasks you thought were finished.
The fix: Work through your home with a consistent sequence for example, top to bottom within each room, and room to room in a logical path through the house rather than bouncing around based on what catches your eye.
Quick Reference: Common Mistakes and Fast Fixes
| Mistake | Fast Fix |
| Mixing chemicals | Use one product at a time; rinse between different cleaners |
| Wrong cleaner for the surface | Check the label; use pH-neutral products on delicate surfaces |
| Too much product | Follow label dilution and application instructions exactly |
| Not enough contact time | Let the product sit per the label’s recommended dwell time |
| Cleaning windows in direct sun | Clean on a cloudy day or during low-light hours |
| Mopping before vacuuming | Vacuum or sweep first, then mop |
| Cleaning bottom to top | Work top to bottom, back to front |
| Scrubbing stains hard | Blot gently, working from the outside in |
| Neglecting cleaning tools | Rinse, wash, and replace sponges, cloths, and filters regularly |
| Poor ventilation | Open windows or run an exhaust fan while cleaning |
How to Build Better Cleaning Habits Going Forward
Fixing these mistakes doesn’t require a complete overhaul of how you clean — just a few adjustments to your existing routine.
- Keep a small set of core products rather than a large mixed collection, which reduces the temptation or accidental risk of combining incompatible cleaners.
- Read labels before using a new product on a new surface, especially for natural stone, hardwood, or stainless steel.
- Measure rather than eyeball cleaning solution amounts, particularly for concentrated products that require dilution.
- Build ventilation into your routine automatically — open the window before you start, not after you notice fumes.
- Clean in a consistent order (top to bottom, vacuum before mop) so you’re not undoing your own progress.
- Replace cleaning tools on a schedule, not just when they visibly wear out — sponges, mop heads, and filters lose effectiveness well before they look obviously dirty.
Cleaning Smarter Beats Cleaning Harder
Most cleaning frustration doesn’t come from a lack of effort, it comes from small, easily fixable habits working against you. Avoiding chemical mixing, matching products to the right surfaces, using the correct amount of product, and cleaning in a logical order can make a noticeable difference in both your results and how much time you spend getting there.
Take a look at your current routine and see if any of these mistakes sound familiar, chances are, at least one does. Small adjustments here can mean a genuinely cleaner home with less wasted effort, and a safer cleaning routine for you and your household along the way.
FAQ
1- Is it really dangerous to mix bleach and vinegar?
Yes. Combining bleach with vinegar or other acids releases toxic chlorine gas, which can cause coughing, breathing difficulty, and eye and throat irritation even at relatively low exposure levels. These products should never be combined.
2- Why does my glass cleaner leave streaks even when I follow the directions?
Streaking is often caused by cleaning in direct sunlight, which makes the solution dry too quickly before you can fully wipe it away. Try cleaning glass on a cloudy day or during low-light hours instead.
3- Is it okay to use vinegar on granite or marble countertops?
No, the acidity in vinegar can etch and permanently dull natural stone surfaces like granite and marble. Use a pH-neutral cleaner specifically formulated for natural stone instead.
4- Do I really need to vacuum before mopping?
Yes. Mopping over loose dirt and debris just spreads it around in the water rather than removing it, which can leave floors looking streaky or dirty even after mopping.
5- How often should I replace my cleaning sponge?
There’s no universal rule, but sponges should be rinsed and wrung out after every use and replaced regularly, since they can harbor bacteria and lose cleaning effectiveness well before they appear visibly worn.
6- Is using more cleaning product always more effective?
No, using too much product often leaves a residue that attracts dirt and can create streaking, meaning surfaces can actually get dirty faster than if the correct, label-recommended amount had been used.