If you’ve ever stood in front of your HVAC filter compartment wondering whether it’s actually time for a change, you’re not alone the honest answer is “it depends,” but not in a vague, unhelpful way. The right interval depends on a few specific, easy-to-check factors, and once you know them, you’ll never have to guess again.
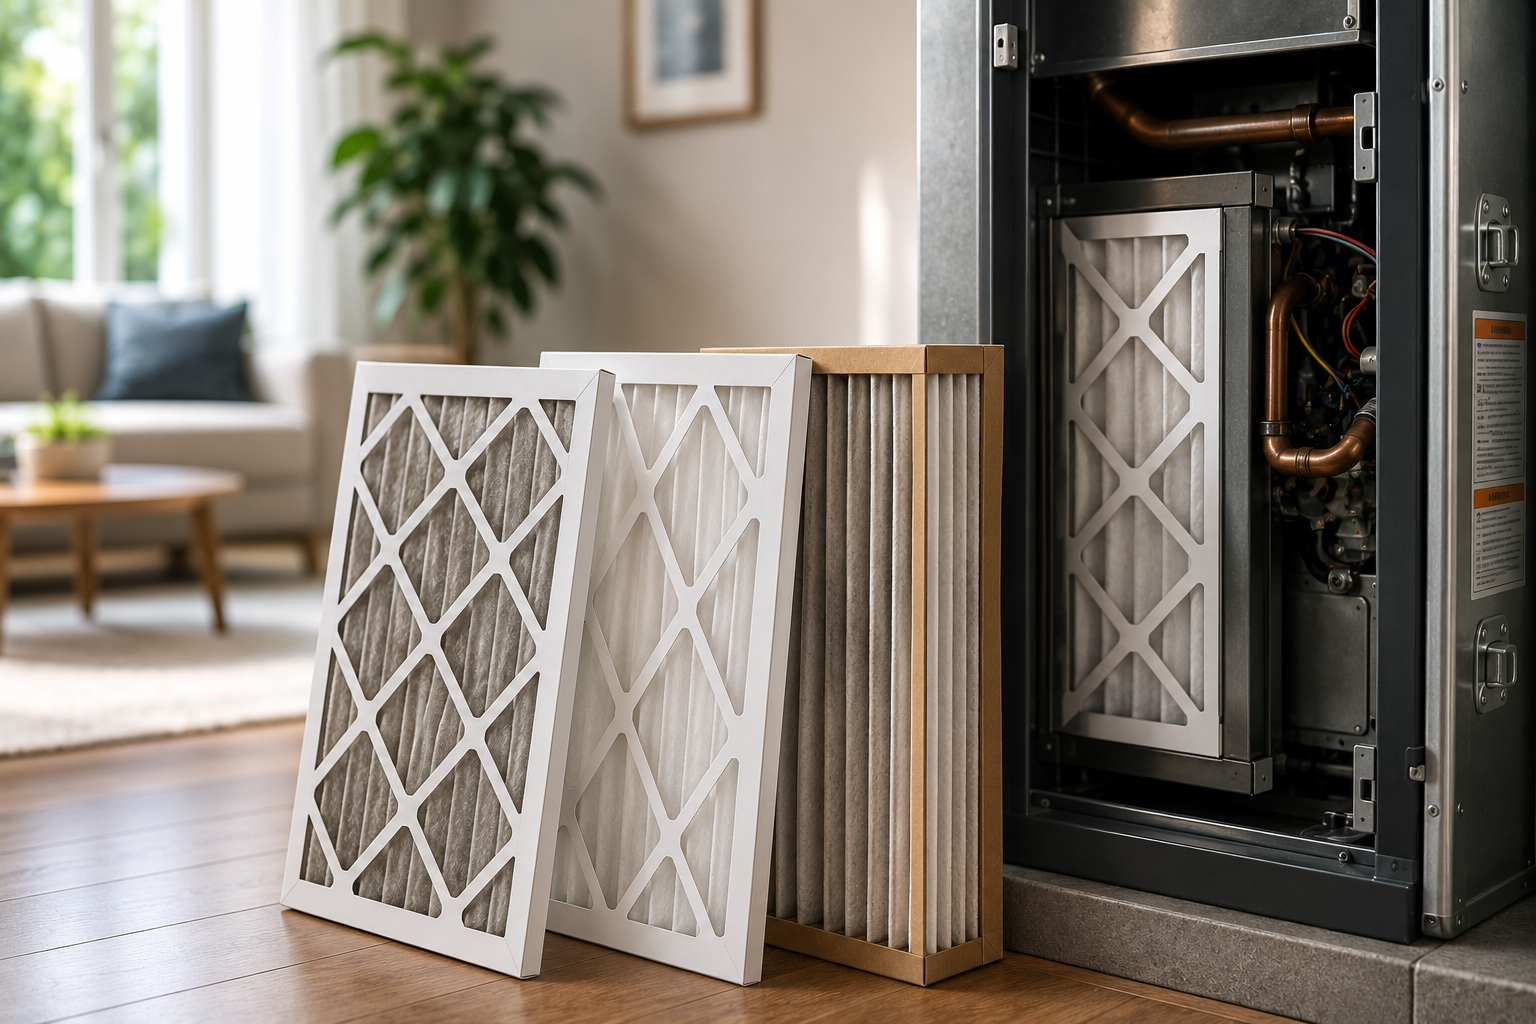
Standard 1-inch filters typically need replacing every 30 to 90 days, while thicker 4- to 5-inch media filters can often last 6 to 12 months. Households with pets, allergies, high-MERV filters, or heavy HVAC use generally fall toward the shorter end of that range sometimes as often as every 20 to 45 days for multiple shedding pets. Regardless of the general guideline, checking your filter monthly and replacing it when it looks visibly dirty is more reliable than relying on the calendar alone.
This guide breaks down exactly what affects your filter’s lifespan, how to read your specific filter’s needs, and how to build a replacement schedule that actually fits your home.
Why There’s No Single Universal Answer
The generic advice to “change your filter every 90 days” isn’t wrong, but it’s incomplete it assumes an average home, average filter, and average conditions. In reality, filter thickness, MERV rating, pets, local air quality, and how much your HVAC system runs all shift that number meaningfully in either direction. A filter that lasts 90 days in one home might need replacing in 30 days in another.
The Biggest Factor: Filter Thickness
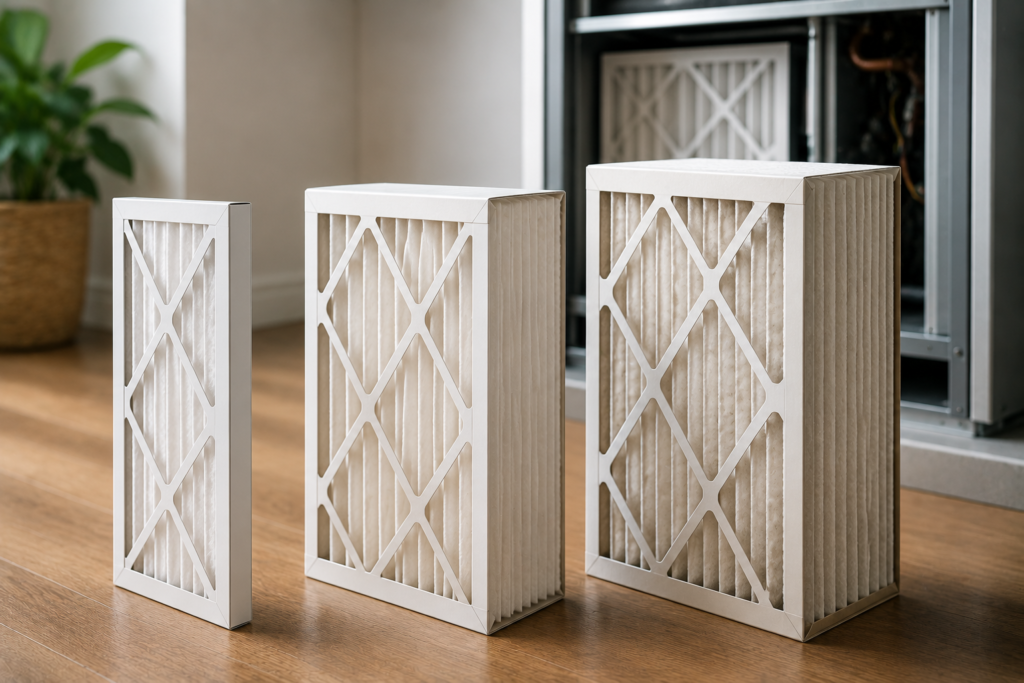
How thick your filter is has the single biggest impact on how long it lasts, since thickness directly determines how much dust and debris it can hold before airflow becomes restricted.
| Filter Thickness | Typical Replacement Interval |
| 1 inch | 30–90 days |
| 4 inch | 6–9 months |
| 5 inch | 9–12 months |
Why thicker filters last longer: A deeper filter has significantly more surface area, meaning it can capture and hold more particles before it becomes clogged and restricts airflow. If your HVAC system is compatible with a 4- or 5-inch media filter (typically installed in a media cabinet near the air handler or furnace), it’s a worthwhile upgrade for reducing how often you need to think about replacement.
The Second Biggest Factor: MERV Rating
MERV (Minimum Efficiency Reporting Value) measures how effectively a filter captures particles, on a scale generally ranging from 1 to 16 for residential use. The higher the rating, the smaller the particles it can trap but higher-rated filters also load up (and need replacing) faster, since they’re capturing more material.
General MERV Guidelines
| MERV Rating | What It Captures | Best For | Typical 1″ Filter Lifespan |
| 1–4 | Large particles (dust, lint) | Basic filtration, minimal cost | 30–60 days |
| 8–11 | Dust, pollen, pet dander, mold spores | Most standard homes | 60–90 days |
| 13+ | Fine particles, smoke, bacteria | Allergy sufferers, pet households, wildfire-prone areas | 30–45 days |
An important caution: Jumping straight to the highest available MERV rating isn’t automatically the best move. Filters rated MERV 13 or higher can be too restrictive for some older or standard residential HVAC systems, potentially straining the blower motor or reducing airflow. If you’re considering a high-MERV upgrade, it’s worth having a technician check your system’s static pressure rating first to confirm it can handle the added resistance.
How Pets Change Your Replacement Schedule
Pets are one of the most significant factors that shorten filter lifespan, since shed hair and dander load up a filter considerably faster than dust alone.
| Household Type | Recommended 1″ Filter Interval |
| No pets | 60–90 days |
| One pet, moderate shedding | 30–60 days |
| Multiple pets or heavy-shedding breeds | 20–45 days |
Practical tip: If you have pets, checking your filter monthly rather than relying purely on a calculated interval helps you catch a filter that’s loading up faster than expected pet shedding can vary seasonally, so a filter that lasted 60 days in spring might need changing at 30 days during a heavier shedding season.
How Allergies and Asthma Affect Your Schedule

If anyone in your household deals with allergies or asthma, both your MERV rating and your replacement frequency deserve extra attention.
- Consider a MERV 11 or higher filter (system permitting) to capture finer particles like pollen and mold spores more effectively.
- Shorten your standard replacement interval by roughly 30%, since higher-MERV filters load up faster and a fully loaded filter recirculates less effectively filtered air.
- The air quality benefit only holds if the filter is changed consistently — a high-MERV filter left in too long provides less benefit than a properly maintained standard filter.
How Local Air Quality and Climate Affect Replacement Timing
Your surrounding environment plays a role too, even if your household habits haven’t changed.
- Homes in areas with higher outdoor pollution or dust typically need more frequent filter changes.
- During wildfire events or periods of poor outdoor air quality, upgrading to a MERV 13 or higher filter (if your system supports it) and replacing it more frequently is generally recommended.
- Climates requiring longer HVAC runtimes — very hot summers or very cold winters mean the system is drawing air through the filter more often, which naturally shortens the interval between changes.
The Simplest Way to Know for Sure: The Light Test
Calendars and general guidelines are a helpful starting point, but a quick physical check is more reliable than guessing.
How to do it:
- Remove the filter from its housing.
- Hold it up to a bright light or window.
- If light passes through clearly, the filter likely still has useful life left.
- If you can’t see light through it, or it looks visibly dark and clogged, it’s time to replace it regardless of how long it’s technically been in place.
This 10-second check is genuinely one of the most reliable ways to catch a filter that’s loading up faster than expected, especially in households with variable conditions like seasonal pet shedding or fluctuating local air quality.
Signs Your Filter Is Overdue (Beyond the Light Test)
- Reduced airflow from vents throughout the house
- Increased dust settling on furniture and surfaces more quickly than usual
- Higher energy bills, since a clogged filter forces your HVAC system to work harder to maintain airflow
- The system running longer than usual to reach your set temperature
- A visible buildup of dust or debris on the filter surface
A clogged filter doesn’t just reduce air quality it puts unnecessary strain on your HVAC system’s components over time, which can contribute to more significant (and expensive) repairs down the line.
Filter Type Comparison: What You’re Actually Choosing Between
| Filter Type | MERV Range | Typical Lifespan (1″) | Notes |
| Fiberglass panel | 1–4 | 30–60 days | Cheapest, minimal filtration |
| Pleated | 8–13 | 60–90 days (lower for higher MERV) | Best balance for most homes |
| Deep pleated/media (4–5″) | 8–16 | 6–12 months | Higher upfront cost, longer intervals |
| Washable | Varies | Cleaned/reused, not replaced | Requires diligent, regular cleaning to remain effective |
A note on washable filters: These are less common in modern high-efficiency systems and need a strict cleaning schedule to stay effective an unwashed reusable filter loses performance just like a disposable one left in too long.
A note on carbon-layer filters: Some filters include an activated carbon layer for odor control, useful for households with pets, indoor smoking, or general odor concerns. Their particulate lifespan is generally similar to a standard filter of the same MERV rating, though the odor-control benefit specifically may fade before the filter is fully clogged.
How to Build a Realistic Replacement Schedule for Your Home
- Start with the general range for your filter thickness and MERV rating as a baseline (see the tables above).
- Adjust down if you have pets, allergies, or live in a high-pollution or high-pollen area.
- Check the filter monthly for the first few months to see how quickly it’s actually loading up in your specific home.
- Once you’ve identified a reliable pattern, set a recurring reminder for that interval, while still doing a quick visual check periodically to catch any unexpected changes (like a new pet or a particularly dusty season).
- Never exceed the maximum interval for your filter type, even if it looks reasonably clean some general guidance suggests never going beyond three months for a standard 1-inch filter, regardless of appearance.
Practical Buying Advice
- Match your MERV rating to your system’s capability, not just your air quality goals. Check your HVAC manufacturer’s specifications or ask a technician before jumping to MERV 13 or higher.
- Consider upgrading to a 4- or 5-inch media filter if your system supports it and you want to reduce how often you need to remember replacements.
- Buy filters in bulk once you’ve identified your ideal interval, so you’re never caught without a replacement on hand.
- If pets or allergies are a factor, budget for more frequent replacement as a standard part of your household maintenance routine, not an occasional afterthought.
- Set a recurring calendar reminder, but treat it as a check-in point rather than an automatic replacement trigger always do the light test first.
Use the Guidelines, But Trust the Check
There’s no single number that applies to every home, but the general ranges here 30 to 90 days for standard filters, 6 to 12 months for thicker media filters, adjusted for pets, allergies, and local air quality give you a solid starting point. From there, the light test and monthly visual checks are what actually confirm whether your specific filter is ready for replacement.
Once you’ve tracked your filter’s real-world lifespan for a few cycles, you’ll have a much more accurate, personalized schedule than any generic guideline could offer and your HVAC system, your energy bill, and your indoor air quality will all benefit from the consistency.
FAQ
1- How often should I really change a standard 1-inch filter?
Most guidance points to every 30 to 90 days for a typical home, with pet owners, allergy sufferers, and high-MERV filter users generally falling toward the shorter end of that range.
2- Do 4-inch filters really last that much longer than 1-inch filters?
Yes — thanks to significantly more surface area, 4-inch filters typically last 6 to 9 months, and 5-inch filters can often go 9 to 12 months, compared to just 1 to 3 months for a standard 1-inch filter.
3- Is a higher MERV rating always better?
Not necessarily. While higher MERV ratings capture finer particles, they also restrict airflow more and can strain systems not designed to handle that resistance. It’s worth confirming your HVAC system can support a higher MERV filter before upgrading.
4- How much faster do pets make a filter get dirty?
It varies by number of pets and shedding level, but one shedding pet can shorten a 1-inch filter’s typical 90-day lifespan to around 45 to 60 days, while multiple pets can push that down to around 30 days or less.
5- What happens if I leave a dirty filter in too long?
A clogged filter restricts airflow, forcing your HVAC system to work harder and potentially increasing energy bills, while also reducing how effectively the system filters your indoor air.
6- Is there a foolproof way to know if my filter needs changing right now?
Hold it up to a bright light if you can’t see light passing through clearly, or it looks visibly dark and clogged, it’s time to replace it, regardless of how long it’s technically been installed.