
Regular cleaning keeps a home looking presentable, but deep cleaning reaches the spots that daily and weekly routines simply never touch, the range hood filter, behind the refrigerator, inside cabinet interiors, and the grime that quietly builds up in corners month after month. A proper deep clean tackles these overlooked areas systematically, room by room, rather than leaving them until they become a genuine problem.
This guide walks through exactly how to deep clean every major room in your home, including the specific overlooked spots that make the biggest visible difference. We’ll also cover kitchen degreasing, bathroom sanitizing, and practical deep cleaning advice for American homeowners tackling a genuine top-to-bottom reset.
By the end, you’ll have a clear, room-by-room process you can follow start to finish, hitting the areas that regular cleaning routines consistently miss.
What Makes a Clean Actually “Deep”?
A genuine deep clean goes beyond visible surfaces to address accumulated buildup in specific overlooked areas, appliance interiors, behind and underneath furniture, cabinet interiors, and grease or grime that regular wiping never fully removes. The kitchen’s range hood filter, oven interior, refrigerator coils, and cabinet interiors are consistently the four most commonly skipped areas during regular cleaning, and also the four that make the biggest visible difference once properly addressed.
Working systematically from high to low in each room, dusting ceiling fixtures before vacuuming floors, for example, prevents you from re-dirtying areas you’ve already cleaned, making your deep clean genuinely more efficient.
Before You Start: Preparing for a Real Deep Clean
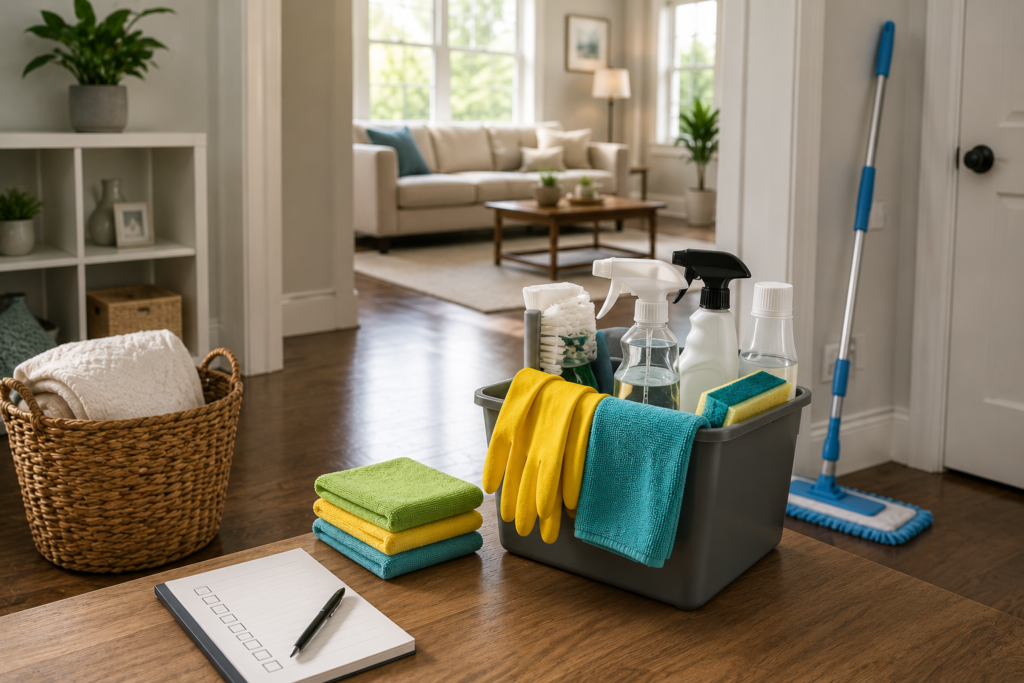
A little upfront preparation makes the entire deep cleaning process considerably more efficient and thorough.
Declutter first: Go through each room and clear out clutter before you begin, since a cluttered home makes deep cleaning significantly harder and less effective.
Move or clear furniture where possible: Prepping the space by moving furniture away from walls, and using a crevice attachment to vacuum corners and baseboards, gives you access to areas that stay hidden during normal cleaning.
Gather your supplies in advance: Vacuum with attachments, mops, scrub brushes, extendable dusters, specialty cleaners like degreasers and grout cleaners, and small detail tools like an old toothbrush or crevice brush all make the process smoother when everything’s on hand before you start.
Work top to bottom in every room: Dust ceiling fans, light fixtures, and high shelves first, then move to furniture and surfaces, and finish with floors last, so falling dust and debris don’t undo work you’ve already completed.
Deep Cleaning the Kitchen
The kitchen accumulates grease, food residue, and bacteria faster than any other room in the home, and given its role in food preparation, a thorough deep clean here directly supports both hygiene and food safety.
Appliances: The Most Overlooked Deep Clean Zone
Oven: Apply a paste of baking soda and water to the interior, let it sit overnight, then wipe clean in the morning, a method that removes baked-on carbon buildup without the harsh fumes of commercial oven cleaner.
Refrigerator: Clean the exterior with a stainless steel cleaner or warm soapy water, finishing with a brightener for a genuine shine. Pull the refrigerator away from the wall periodically to clean the condenser coils, since dust buildup here forces the compressor to work harder than necessary.
Microwave: Steam clean the interior using a bowl of water microwaved for a few minutes, which loosens cooked-on food splatter so it wipes away easily rather than requiring aggressive scrubbing.
Dishwasher: Clean both inside and out, removing and rinsing the filter, and running an empty cycle with a dishwasher-safe cleaning solution to address mineral buildup and lingering odor.
Range hood filter: This is one of the most frequently skipped spots in the entire kitchen, yet it directly affects how well your range hood removes cooking grease and odor from the air.
Cabinets, Countertops, and Sink
Remove everything from cabinets and wipe shelves both inside and out using a damp microfiber cloth with a mild all-purpose cleaner. For greasy cabinet exteriors, a few drops of gentle dish soap in warm water often cuts through buildup more effectively than harsher commercial degreasers, while leaving no chemical residue on food-adjacent surfaces.
Disinfect all countertops using a cleaner appropriate for your specific counter material, and wipe down the backsplash where cooking splatter tends to accumulate unnoticed. Finish by wiping the sink and flushing the drain and disposal with a combination of baking soda, vinegar, and boiling water to address buildup and odor.
Finishing the Kitchen
Sweep, vacuum, and mop the floors last, working your way toward the doorway so you’re not walking back across a freshly cleaned surface. Most cleaning professionals recommend a thorough kitchen deep clean roughly once a month, given how quickly grease and food residue accumulate in this heavily used space.
Deep Cleaning the Bathroom
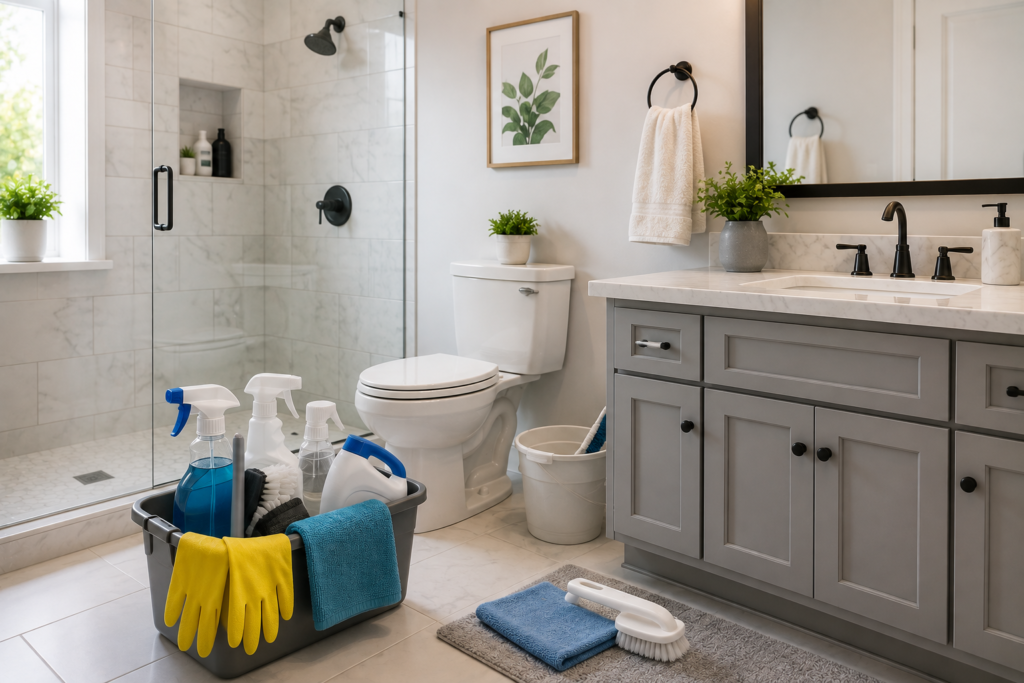
Bathrooms combine moisture, soap scum, and germs in a way that makes them a common breeding ground for mold and mildew if deep cleaning gets neglected.
Decluttering and Prep
Start by clearing bathroom counters and removing everything from the shower, giving yourself genuine working space rather than cleaning around bottles and clutter.
Shower, Tub, and Sink
Scrub the shower and tub thoroughly, clearing hair from the drain and treating any limescale, mold, or soap scum buildup with an appropriate cleaner before moving on. Move to the sink and toilet, wiping away grime and using disinfectant as needed, including sanitizing the toilet inside and out, specifically including the base and the area behind it, spots that are easy to overlook during routine cleaning.
The Spots Everyone Forgets
Behind the toilet, faucet handles, and the toothbrush holder are consistently among the most overlooked bathroom spots, accumulating grime that a quick weekly wipe-down rarely reaches. Descaling a showerhead affected by mineral buildup and addressing limescale on fixtures rounds out the areas that make the biggest visible difference in a genuine deep clean.
Finishing the Bathroom
Empty the bathroom trash bin, replenish air fresheners or potpourri if you use them, and wash all bath and hand towels in a hot cycle. Finish with the floor, mopping thoroughly once all surfaces above it have been addressed.
Deep Cleaning the Bedroom
A clean, organized bedroom genuinely supports better sleep and lower stress, making the extra deep-cleaning attention worthwhile beyond just appearance.
Dust High to Low
Dust high surfaces first, including ceiling fans, light fixtures, and the tops of dressers or shelves, before moving down to lower furniture and finally the floor.
Bedding and Mattress
Launder and change all bedding, including pillowcases, sheets, and any blankets, to shake off the dust and allergens that accumulate even with regular washing. Rotate and vacuum the mattress itself, along with vacuuming underneath the bed frame, an area that regular cleaning routines almost universally skip.
Windows, Curtains, and Closets
Spot clean bedroom mirrors and windows, saving full window washing for a monthly or seasonal deep clean rather than every single session. Freshen curtains, either by washing them if machine-safe or vacuuming with an upholstery attachment, and take the opportunity to check and organize closet space while you’re already working through the room systematically.
Deep Cleaning the Living Room
Living rooms handle heavy daily activity, and dust, pet hair, and general clutter tend to accumulate here faster than in lower-traffic spaces.
Declutter and Tidy First
Organize bookshelves, pick up any items left on the floor, and do a general tidy-up before you begin the actual cleaning process, since working around clutter slows everything down considerably.
Surfaces and Furniture
Wipe down all hard surfaces, including shelves, coffee tables, dining tables, TV units, and the tops of radiators or vents. Vacuum upholstered furniture like sofas and chairs, and if cushion or sofa covers are removable, wash them along with any blankets or soft décor for a genuinely thorough refresh.
Electronics and Screens
TV and laptop screens accumulate far more dust than most people realize, so wipe them down with an appropriate electronics-safe cloth as part of your regular deep clean routine, not just occasionally.
Finishing the Living Room
Finish with windows, blinds, baseboards, and light fixtures, then vacuum carpets and rugs or mop hard flooring last, once everything above floor level has already been addressed.
Comparing Deep Clean Frequency by Room
| Room | Recommended Deep Clean Frequency | Most Overlooked Spots |
| Kitchen | Monthly | Range hood filter, oven, fridge coils, cabinet interiors |
| Bathroom | Monthly | Behind toilet, faucet handles, showerhead |
| Bedroom | Monthly to seasonal | Under bed, mattress, closet |
| Living room | Monthly to seasonal | Under cushions, electronics, baseboards |
Essential Tools for a Genuine Deep Clean
Having the right tools on hand before you start makes the entire process considerably smoother and more thorough.
- Vacuum with attachments for carpets, upholstery, and hard floors alike
- Mop, steam or traditional, for tile and hardwood surfaces
- Scrub brushes for sinks, tubs, and stubborn stains
- Extendable duster for ceiling fans and high shelves
- Small detail tools, including crevice brushes, an old toothbrush, and a microfiber wand duster for tight corners
- Specialty cleaners, including a degreaser for the kitchen, grout cleaner for bathroom tile, and glass cleaner for mirrors and windows
Reducing How Often You Need a Full Deep Clean
The best way to make future deep cleans easier is maintaining a consistent weekly routine that prevents the kind of heavy buildup that makes deep cleaning so time-consuming in the first place.
Simple habits like wiping down kitchen surfaces immediately after cooking, running the bathroom exhaust fan during and after showers, and doing a quick floor vacuum a couple of times a week all prevent the accumulation that otherwise turns into hours of extra deep-cleaning work later. Households that stay consistent with weekly maintenance often find a full deep clean is only genuinely necessary once or twice a year, rather than every few months.
Common Deep Cleaning Mistakes to Avoid
- Cleaning floors before surfaces above them: Working bottom to top means you’re just re-dirtying floors you already cleaned once dust settles from higher surfaces.
- Skipping appliance interiors entirely: The oven, microwave, and refrigerator coils are consistently among the most neglected spots, yet they make some of the most noticeable differences once addressed.
- Using the wrong cleaner for a specific surface: Harsh degreasers on delicate cabinet finishes, or abrasive cleaners on natural stone counters, can cause damage that’s genuinely difficult to reverse.
- Trying to deep clean the entire house in one day: Spreading a whole-home deep clean across a weekend, or tackling one or two rooms per session, produces more thorough results than rushing through everything at once.
- Forgetting to declutter before cleaning: Working around clutter slows the entire process down and makes it far harder to reach the surfaces and corners that actually need attention.
Work Room by Room, Top to Bottom
Deep cleaning your home effectively comes down to working systematically, room by room and top to bottom, while specifically targeting the overlooked spots that regular cleaning routines consistently miss, appliance interiors, behind furniture, and cabinet interiors chief among them. The kitchen and bathroom deserve monthly attention given how quickly grease, moisture, and grime accumulate, while bedrooms and living rooms can often stretch a bit further between deep cleans. Pairing periodic deep cleaning with consistent weekly maintenance habits keeps future deep cleans considerably more manageable, turning what could be an overwhelming task into a genuinely achievable, room-by-room process.
Frequently Asked Questions
1- How often should I deep clean my kitchen?
Most cleaning professionals recommend a thorough kitchen deep clean about once a month, given how quickly grease and food residue accumulate in this heavily used space.
2- What are the most commonly overlooked spots during a deep clean?
In the kitchen, the range hood filter, oven interior, refrigerator coils, and cabinet interiors are consistently skipped; in the bathroom, behind the toilet and faucet handles are frequently missed.
3- Should I clean top to bottom or bottom to top?
Always work top to bottom, dusting ceiling fixtures and high surfaces first, then moving to furniture, and finishing with floors last, to avoid re-dirtying areas you’ve already cleaned.
4- How can I make deep cleaning less overwhelming?
Break the process down room by room rather than attempting the whole house in one session, and maintain consistent weekly habits that prevent heavy buildup between deep cleans.
5- Do I need special products for a deep clean, or will regular cleaners work?
Certain tasks genuinely benefit from specialty products, like degreasers for kitchen grease or grout cleaner for bathroom tile, though many everyday tasks can still be handled with basic all-purpose cleaner and warm soapy water.
6- How long does a full house deep clean typically take?
This varies by home size and condition, but breaking the process into individual rooms across a weekend, rather than attempting everything in a single day, generally produces more thorough results.