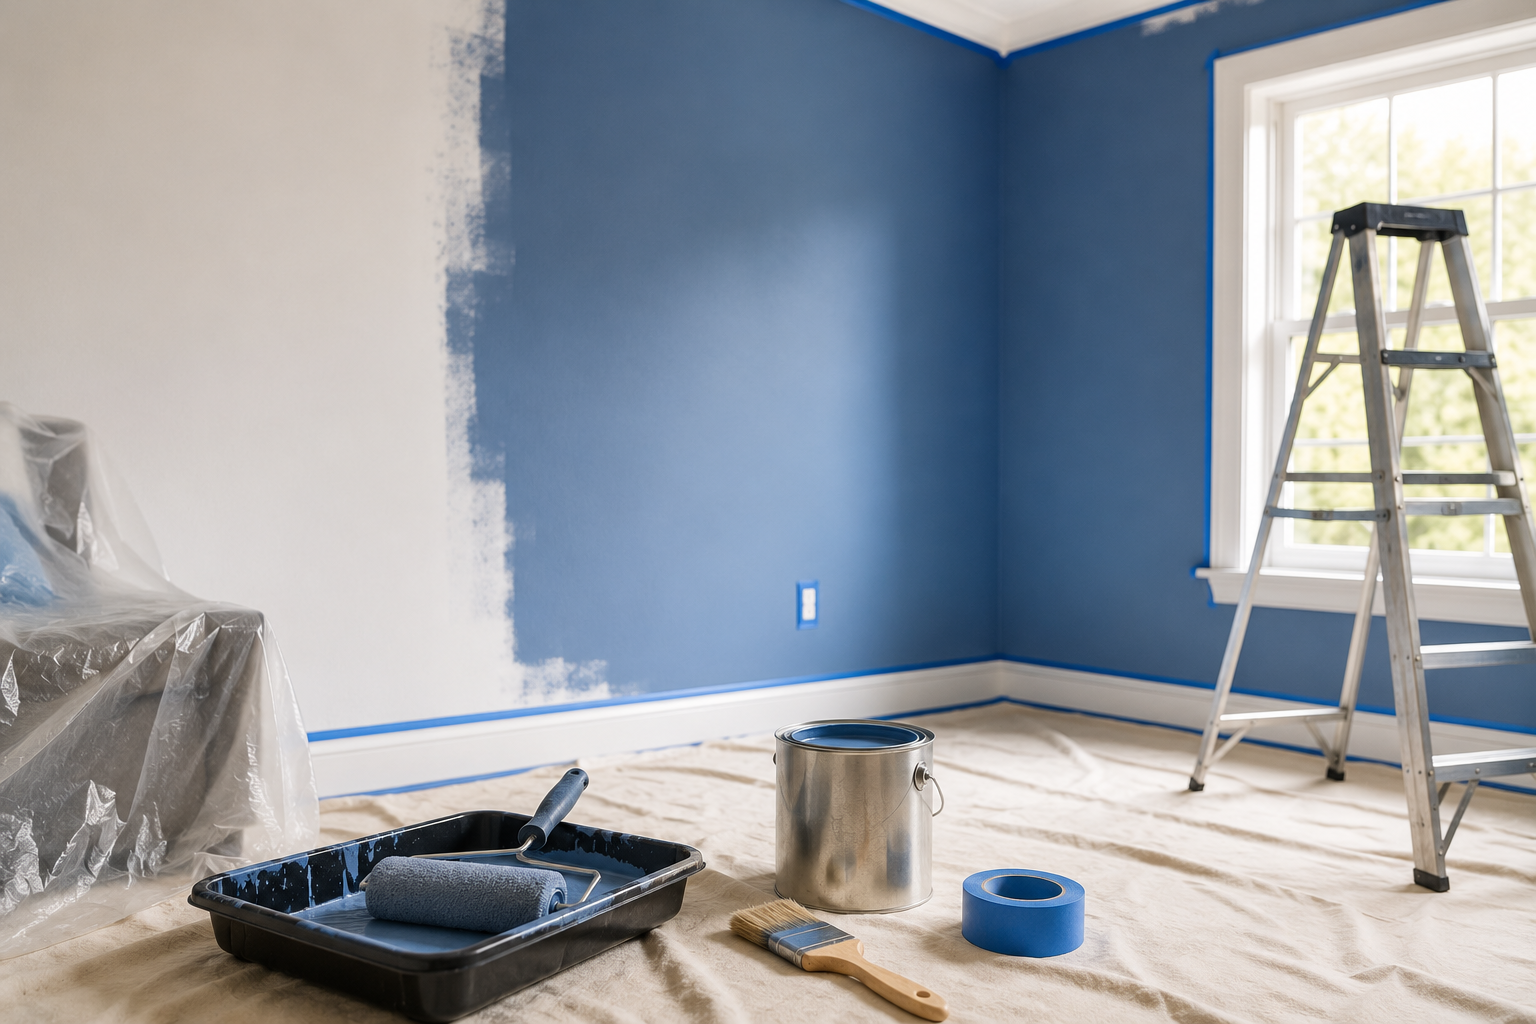
A fresh coat of paint is one of the most affordable ways to transform a room, but the difference between an amateur job and a professional finish often comes down to preparation and technique. Most painting mistakes happen before the roller ever touches the wall.
This guide walks through exactly how to paint a room like a professional, covering prep work, tools, cutting in, rolling technique, and common mistakes to avoid. We’ll also cover interior painting tips, paint sheen, and practical buying advice for American homeowners tackling their next painting project.
By the end, you’ll have a clear, step-by-step process for achieving a smooth, streak-free finish that looks like it was done by a pro.
What Makes a Paint Job Look Professional?
Professional-looking paint jobs come down to thorough preparation, quality tools, proper technique, and patience between coats. Cleaning and patching walls, using painter’s tape correctly, cutting in cleanly before rolling, and applying an even number of coats with adequate drying time between them make the biggest difference in the final result.
Rushing through prep work or skipping steps to save time is the most common reason DIY paint jobs look noticeably less polished than professional work.
Gathering the Right Tools and Materials
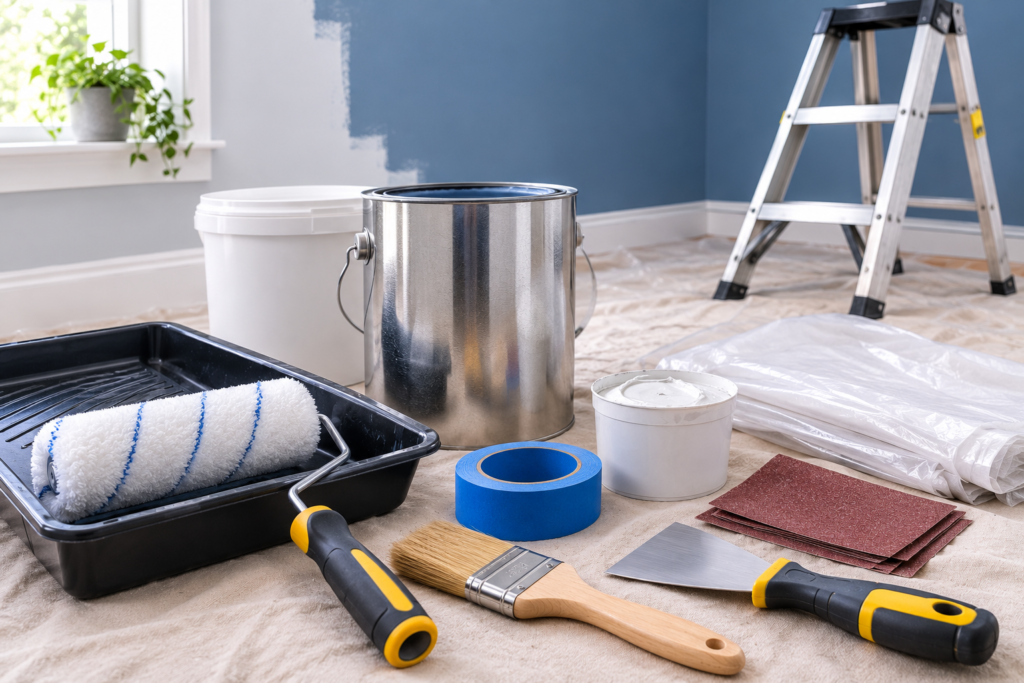
Before you start painting, having the right supplies on hand makes the entire process smoother and produces significantly better results.
Essential painting supplies:
- Interior paint in your chosen color and sheen
- Primer, if needed for your wall condition
- Painter’s tape
- Drop cloths
- A quality paintbrush for cutting in
- Roller frames and covers appropriate for your wall texture
- A paint tray and tray liners
- Sandpaper for smoothing rough patches
- Spackle or patching compound for holes and cracks
- A putty knife
- A step ladder
Investing in slightly higher-quality brushes and roller covers genuinely makes a noticeable difference in finish quality compared with the cheapest available options.
Steps To Paint A Room Like A Pro
Step 1: Prepare the Room
Proper room preparation protects your furniture and flooring while making the actual painting process far more efficient.
Preparation steps:
- Remove furniture from the room, or move it to the center and cover it with drop cloths
- Remove outlet covers, switch plates, and any wall hardware
- Lay drop cloths across the entire floor area
- Dust and wipe down walls to remove surface dirt before painting
Taking the time to fully clear and protect the room prevents accidental drips or damage that can be frustrating to clean up later.
Step 2: Clean and Repair the Walls
Walls need to be clean and smooth before paint goes on, since imperfections and dirt can affect both adhesion and the final appearance.
Cleaning Walls
Wipe down walls with a damp cloth or mild cleaning solution to remove dust, grease, and grime, particularly in kitchens or areas prone to buildup. Allow walls to dry completely before proceeding.
Patching Holes and Cracks
Fill nail holes, cracks, and dents with spackle or patching compound using a putty knife, then allow it to dry according to the product’s instructions. Sand the patched areas smooth once dry, ensuring they’re flush with the surrounding wall surface.
Sanding Rough Areas
Lightly sand any glossy surfaces or rough patches to help new paint adhere properly. Wipe away sanding dust with a damp cloth before moving forward.
Step 3: Apply Painter’s Tape Correctly
Painter’s tape creates clean, crisp lines along trim, ceilings, and edges, but proper application technique matters significantly for the final result.
Tips for applying painter’s tape:
- Press tape firmly along the edge, using a putty knife or credit card to seal the edge completely
- Apply tape to clean, dry surfaces for the best adhesion
- Remove tape while the paint is still slightly wet to prevent peeling, ideally within a few hours of your final coat
- Pull tape at a 45-degree angle, slowly and steadily, rather than yanking it off quickly
Step 4: Choose the Right Primer
Primer creates a uniform base for paint to adhere to, and skipping this step when it’s needed is one of the most common reasons paint jobs look uneven or require extra coats.
When primer is necessary:
- Painting over a dark or bold existing color with a lighter shade
- Painting bare drywall or plaster for the first time
- Covering stains, water damage, or smoke residue
- Switching between dramatically different paint finishes, such as glossy to matte
Many modern paints include primer built into the formula, which can simplify the process for straightforward color changes on already-painted walls in good condition.
Step 5: Cut In Before Rolling
Cutting in refers to painting the edges, corners, and areas along trim with a brush before using a roller on the larger wall surface.
How to cut in properly:
- Load your brush with paint, tapping off excess rather than wiping it against the can’s rim
- Paint a smooth, steady line along edges, ceilings, and corners, roughly 2 to 3 inches wide
- Work in manageable sections rather than cutting in the entire room before rolling
- Blend cut-in edges with the roller while the paint is still wet to avoid visible lines between brush and roller textures
Cutting in with a steady hand takes practice, but working in smaller sections and maintaining a wet edge helps produce cleaner results even for beginners.
Step 6: Roll the Walls Properly
Rolling technique significantly affects whether your finished walls look smooth and even or show visible roller marks and uneven coverage.
Rolling technique tips:
- Load the roller evenly, rolling it across the tray’s textured section to remove excess paint
- Apply paint in a large “W” or “M” pattern, then fill in without lifting the roller, to distribute paint evenly
- Work in manageable sections, roughly 3 feet by 3 feet, blending each section into the last while paint is still wet
- Use consistent pressure throughout, avoiding pressing too hard, which can create visible roller marks
- Roll from ceiling toward the floor in slightly overlapping passes for even coverage
Step 7: Apply Multiple Coats Correctly
Most rooms require at least two coats of paint for full, even coverage, particularly with significant color changes.
Tips for multiple coats:
- Allow the first coat to dry fully according to the paint can’s recommended drying time before applying a second coat
- Apply thin, even coats rather than one thick coat, which can lead to drips and uneven drying
- Check coverage in different lighting conditions, since some colors show inconsistencies more clearly under certain light
- A third coat may be needed for particularly bold color changes or when covering very dark existing colors
Choosing the Right Paint Sheen
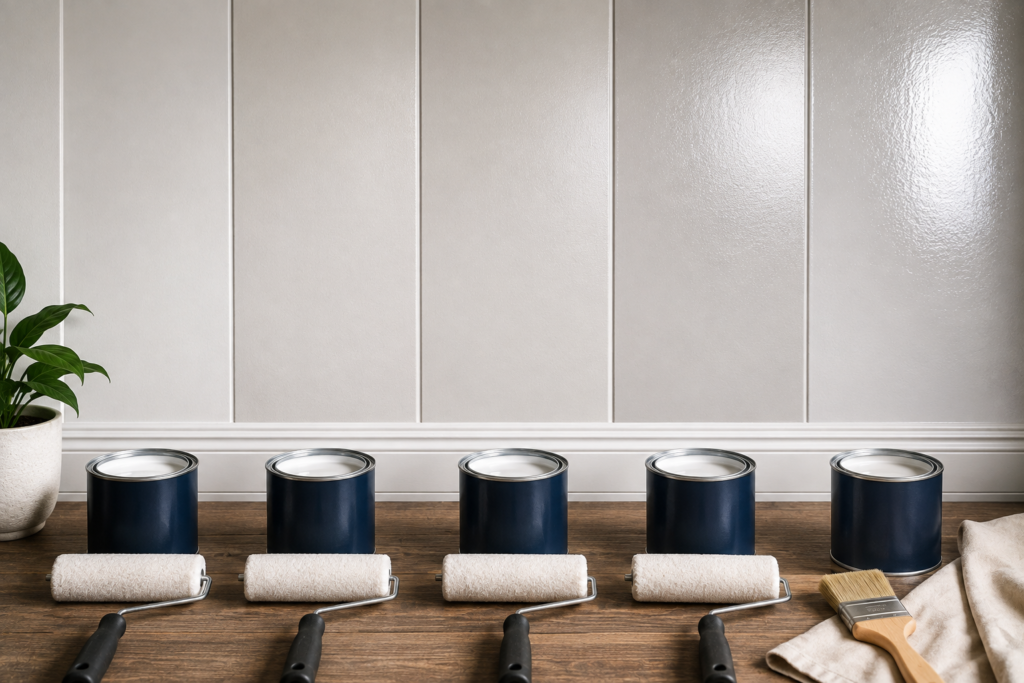
Paint sheen affects both appearance and durability, making it an important consideration beyond just color choice.
| Sheen | Best For | Durability |
| Flat/Matte | Ceilings, low-traffic walls | Lower, shows less wall imperfections |
| Eggshell | Living rooms, bedrooms | Moderate, easy to clean |
| Satin | Hallways, kids’ rooms | Good, more washable |
| Semi-Gloss | Trim, kitchens, bathrooms | High, very washable |
| Gloss | Doors, cabinets, accents | Highest, most durable |
Flatter sheens hide wall imperfections better but are less washable, while glossier finishes hold up to cleaning and moisture much more effectively, making them better suited to high-traffic or high-moisture areas.
Common Painting Mistakes to Avoid
- Skipping wall preparation: Painting over dirty, damaged, or unsanded walls leads to visible imperfections and poor paint adhesion.
- Using low-quality tools: Cheap brushes and roller covers often leave visible bristles, lint, or streaks in the finished paint.
- Removing tape too late: Waiting until paint fully dries to remove painter’s tape increases the risk of peeling paint away with the tape.
- Overloading the brush or roller: Too much paint leads to drips and uneven texture, while too little requires excessive reapplication.
- Not allowing adequate drying time between coats: Applying a second coat too soon can cause the layers to blend improperly, leading to an uneven finish.
- Ignoring proper ventilation: Poor airflow during painting can extend drying time and increase exposure to paint fumes, so open windows and use fans when possible.
Practical Buying Advice for Paint and Supplies
A few considerations can help you choose the right products for your specific project.
- Paint quality matters: Higher-quality paints generally offer better coverage, requiring fewer coats and producing a more even, durable finish compared with budget options.
- Calculate paint quantity accurately: Measure your room’s square footage and check the paint can’s coverage specifications to avoid running short mid-project or overbuying.
- Choose appropriate roller nap: Smoother walls need a shorter nap roller cover, while textured walls require a longer nap to reach into surface irregularities.
- Consider washable formulas for high-traffic areas: Paints marketed as washable or scrubbable hold up better in kitchens, hallways, and children’s rooms.
Choosing the Right Paint Color and Finish Combination
Beyond technique, color and finish work together to shape how a room ultimately feels, worth considering before you open a paint can.
- Testing colors before committing: Paint small swatches directly on the wall in different areas of the room, and observe them at different times of day, since natural and artificial lighting can significantly change how a color appears.
- Considering undertones: Many paint colors carry subtle undertones, such as a gray that leans slightly blue or green, which can become more noticeable once applied to a full wall compared with a small paint chip.
- Matching finish to room function: A high-moisture bathroom benefits from a more washable, semi-gloss finish, while a formal living room might prioritize the smoother look of eggshell or matte over maximum durability.
- Coordinating trim and wall sheens: Using a glossier finish on trim compared with walls creates subtle contrast and visual definition, a technique commonly used in professional paint jobs.
Cleaning Up After Painting
Proper cleanup protects your tools for future use and helps you avoid unnecessary mess wrapping up the project.
- Cleaning brushes and rollers: For water-based latex paints, clean brushes and rollers thoroughly with warm water and mild soap immediately after use, working the paint out of the bristles or nap completely before it dries.
- Storing leftover paint: Seal paint cans tightly and store them in a temperature-controlled space, labeling them with the room and date for easy reference during future touch-ups.
- Disposing of paint properly: Check local guidelines for paint disposal, since many areas have specific requirements or drop-off locations for unused paint and empty containers.
- Removing paint from skin and surfaces: Address any accidental paint drips or splatters promptly, since fresh paint is considerably easier to clean than paint that has been allowed to dry.
How Long Does a Typical Room Take to Paint?
Timing varies based on room size, prep work needed, and your experience level, but understanding general expectations helps with planning.
- Small to medium rooms: A single bedroom or small living space typically takes a full day for an experienced painter, including prep, two coats, and cleanup, though beginners may need to spread this across a weekend.
- Larger or more complex rooms: Rooms with high ceilings, extensive trim work, or significant wall repair needed generally require additional time beyond a standard single-day estimate.
- Drying time between coats: Beyond active painting time, factor in adequate drying time between coats, which can add several hours to your overall project timeline depending on humidity and paint type.
Planning for a full weekend, rather than assuming a single afternoon will suffice, helps set realistic expectations and reduces the temptation to rush through important steps.
Conclusion
Painting a room like a professional comes down to thorough preparation, quality tools, and patient technique rather than any special secret. Cleaning and patching walls, applying painter’s tape correctly, cutting in cleanly, and rolling with even pressure all contribute to a smooth, streak-free finish. Take your time with each step, allow proper drying between coats, and choose the right sheen for your space, and your finished room will look every bit as polished as professional work.
Frequently Asked Questions
1- How many coats of paint does a room typically need?
Most rooms need at least two coats for even, full coverage, though significant color changes or covering dark existing colors may require a third coat.
2- Do I need to prime before painting?
Priming is recommended when covering dark colors, painting bare drywall, addressing stains, or switching between dramatically different paint finishes.
3- What’s the best paint sheen for a living room?
Eggshell or satin finishes generally work well for living rooms, offering a good balance of appearance and washability for moderate-traffic areas.
4- How long should I wait between paint coats?
Follow the specific drying time listed on your paint can, which is typically a few hours, though full curing can take longer depending on humidity and temperature.
5- When should I remove painter’s tape?
Remove tape while the final coat is still slightly wet, ideally within a few hours of painting, to prevent it from pulling off dried paint.
6- Can I paint over glossy walls without sanding?
Lightly sanding glossy surfaces first helps new paint adhere properly, since paint doesn’t bond as well to slick, glossy finishes without this step.